Acumatica TreeView: Understanding and Customizing in Acumatica ERP
Hello everyone! Today, I'd like to share my knowledge about the TreeView control in Acumatica, focusing on what it is, how to create a custom TreeView, and adding additional fields to an existing one.
- What is TreeView in Acumatica ERP?
In Acumatica, a TreeView is a crucial user interface element utilized to showcase hierarchical data in a tree-like structure. It empowers users to navigate through a hierarchy of records or data in a visually organized manner. Each node in the tree signifies a record or a category, with child nodes nested under their parent nodes, forming a hierarchical structure.
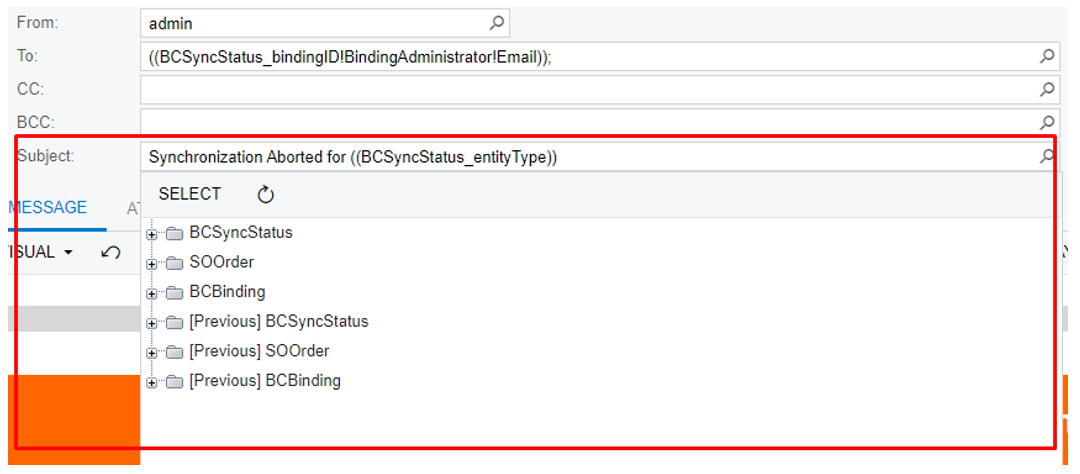
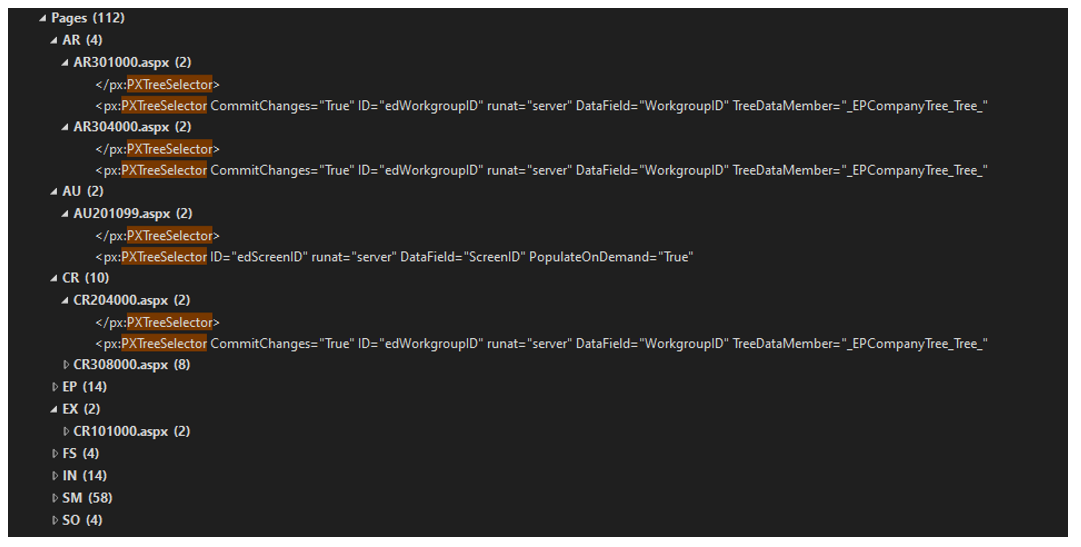
Acumatica employs numerous screens with these controls:
2. How to Create a Custom TreeView?
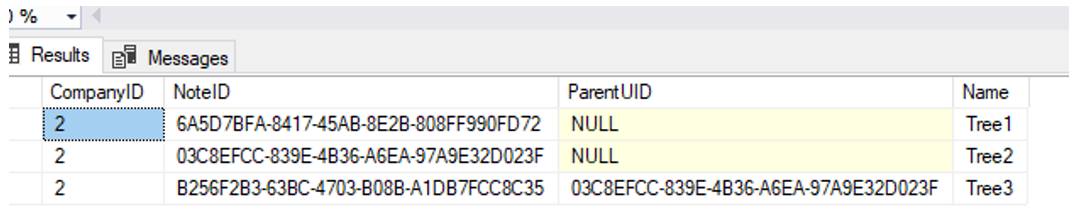
- Add a table with NoteID and ParentID values:
b. Add DAC class:
[Serializable]
[PXCacheName("CustomTreeView")]
public class CustomTreeView : IBqlTable
{
    public new abstract class noteID : BqlType<IBqlGuid, Guid>.Field<noteID>
    {
    }

    [PXDBGuid(false, IsKey = true)]
    [PXUIField(Visibility = PXUIVisibility.SelectorVisible)]
    public virtual Guid? NoteID
    {
        get; set;
    }

    public new abstract class parentUID : BqlType<IBqlGuid, Guid>.Field<parentUID>
    {
    }

    [PXDBGuid(false)]
    [PXUIField(DisplayName = "Parent Folder")]
    public virtual Guid? ParentUID
    {
        get; set;
    }

    public new abstract class name : BqlType<IBqlString, string>.Field<name>
    {
    }

    [PXDefault]
    [PXDBString(InputMask = "", IsUnicode = true)]
    [PXUIField(DisplayName = "ID", Visibility = PXUIVisibility.SelectorVisible)]
    public virtual string Name
    {
        get; set;
    }

    public abstract class title : BqlType<IBqlString, string>.Field<title>
    {
    }

    [PXDefault(PersistingCheck = PXPersistingCheck.Nothing)]
    [PXString(InputMask = "", IsUnicode = true)]
    [PXUIField(DisplayName = "Name", Visibility = PXUIVisibility.SelectorVisible)]
    public virtual string Title
    {
        get; set;
    }

    public abstract class pageID : BqlType<IBqlGuid, Guid>.Field<pageID>
    {
    }

    [PXGuid]
    [PXUIField(Visibility = PXUIVisibility.SelectorVisible)]
    public virtual Guid? PageID
    {
        get; set;
    }
}
c. Add a view in your Graph for selecting these values from the database and logic:
public SelectFrom<CustomTreeView>.View.ReadOnly Articles;

protected virtual IEnumerable articles(string PageID)
{
    Guid parentID = GUID.CreateGuid(PageID) ?? Guid.Empty;

    PXResultset<CustomTreeView> customTrees = null;
    if (PageID != null)
    {
        customTrees = SelectFrom<CustomTreeView>.Where<CustomTreeView.parentUID.IsEqual<BqlPlaceholder.P.AsGuid>>.View.ReadOnly.Select(Base, parentID);
    }
    else
    {
        customTrees = SelectFrom<CustomTreeView>.Where<CustomTreeView.parentUID.IsNull>.View.ReadOnly.Select(Base);
    }

    foreach (CustomTreeView childNode in customTrees)
    {

        yield return new CustomTreeView
        {
            PageID = childNode.NoteID,
            Title = childNode.Name,
            ParentUID = parentID,
        };
    }
}
d. Add a field for a view to save the selected GUID in the database:
public abstract class getLinkTemplate : BqlType<IBqlGuid, Guid>.Field<getLinkTemplate>
{
}

[PXDBGuid(false)]
[PXUIField(DisplayName = "Template for External Links")]
public virtual Guid? GetLinkTemplate { get; set; }
e. Add a control in your .aspx page:

or unformatted text:
<px:PXTreeSelector runat="server" ID="edCustomTreeView" TreeDataSourceID="ds" TreeDataMember="Articles" InitialExpandLevel="0" PopulateOnDemand="True" ShowRootNode="False" CommitChanges="True" DataField="GetLinkTemplate">
<DataBindings>
<px:PXTreeItemBinding TextField="Title" ValueField="PageID" />
</DataBindings>
</px:PXTreeSelector>
And that’s all. After all these steps it should be visible on Acumatica UI:
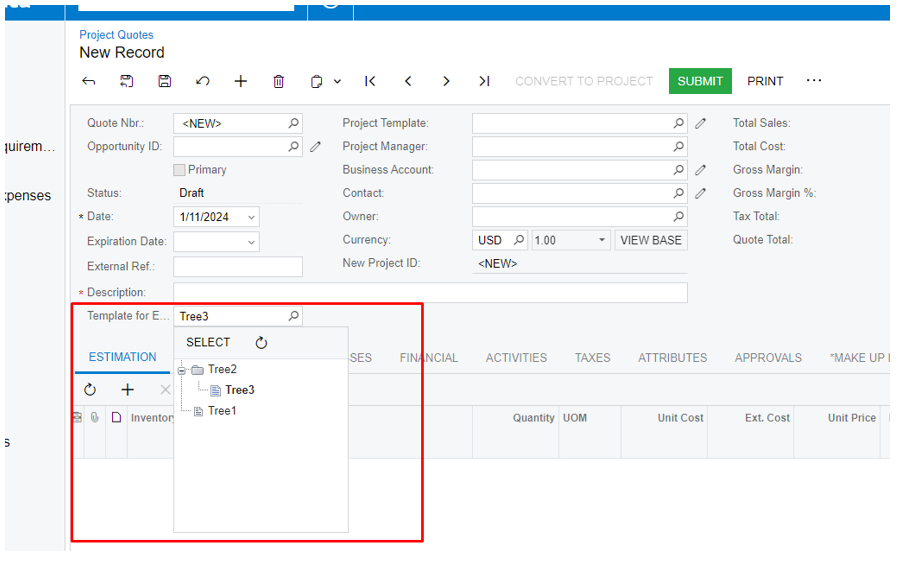
As you can see, it is quite simple and can be useful in various business cases.
- How to Add Additional Fields to the Existing One?
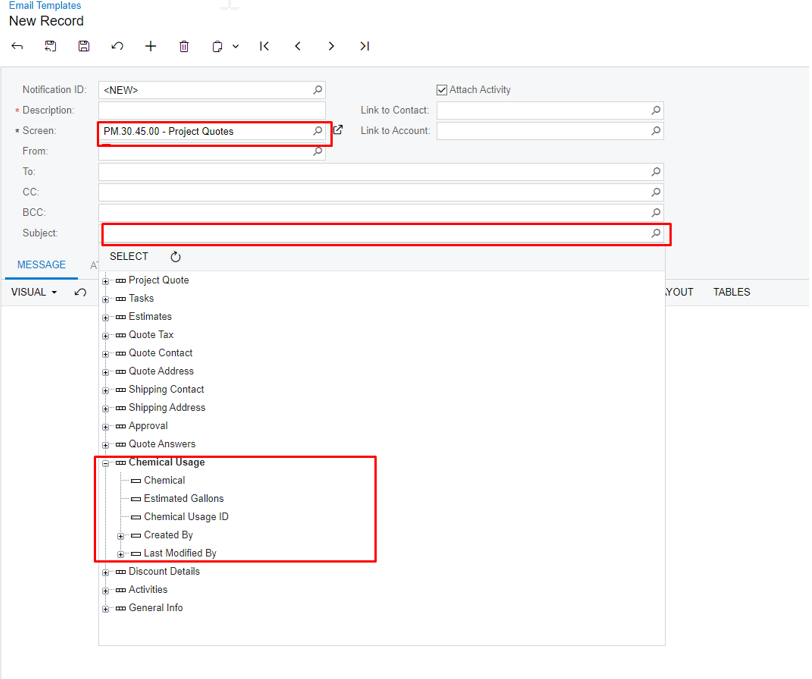
Suppose you added a custom tab for the PM304500 screen and need to add your custom DACs and fields to the existing TreeView:
How to do that?
You just need add [PXViewName ()] attribute to your view:
[PXViewName("Chemical Usage")]
public SelectFrom<ChemicalUsage>.Where<ChemicalUsage.contractCD.IsEqual<PMQuote.quoteProjectCD.FromCurrent>>.
    View ChemicalUsage;
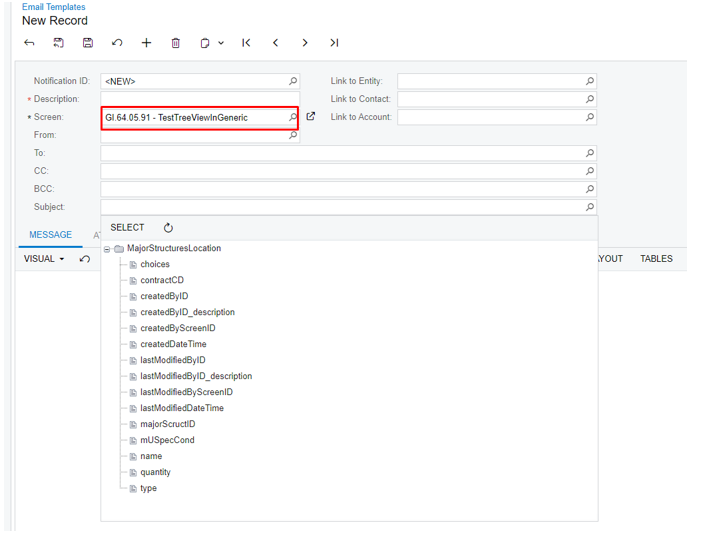
An additional way to select data fields from any table and show them in a TreeView is to create a Generic Inquiry and add all tables that you need:
That’s all. Good luck with this experience.
If you're looking to enhance your Acumatica ERP with custom TreeView controls or need additional fields in an existing one, we can help! Whether it's optimizing navigation, improving data structure, or implementing advanced UI elements, our team is ready to tailor the perfect solution for your business.
Leave a customization request today, and let’s bring your Acumatica project to the next level!