How to work with custom Upload Dialog Box with Acumatica Test SDK
In this article, I want to explain how to work with custom Upload Dialog Box, if standard methods available in the wrapper throw an error.
Here is an example of such Upload Dialog Box:
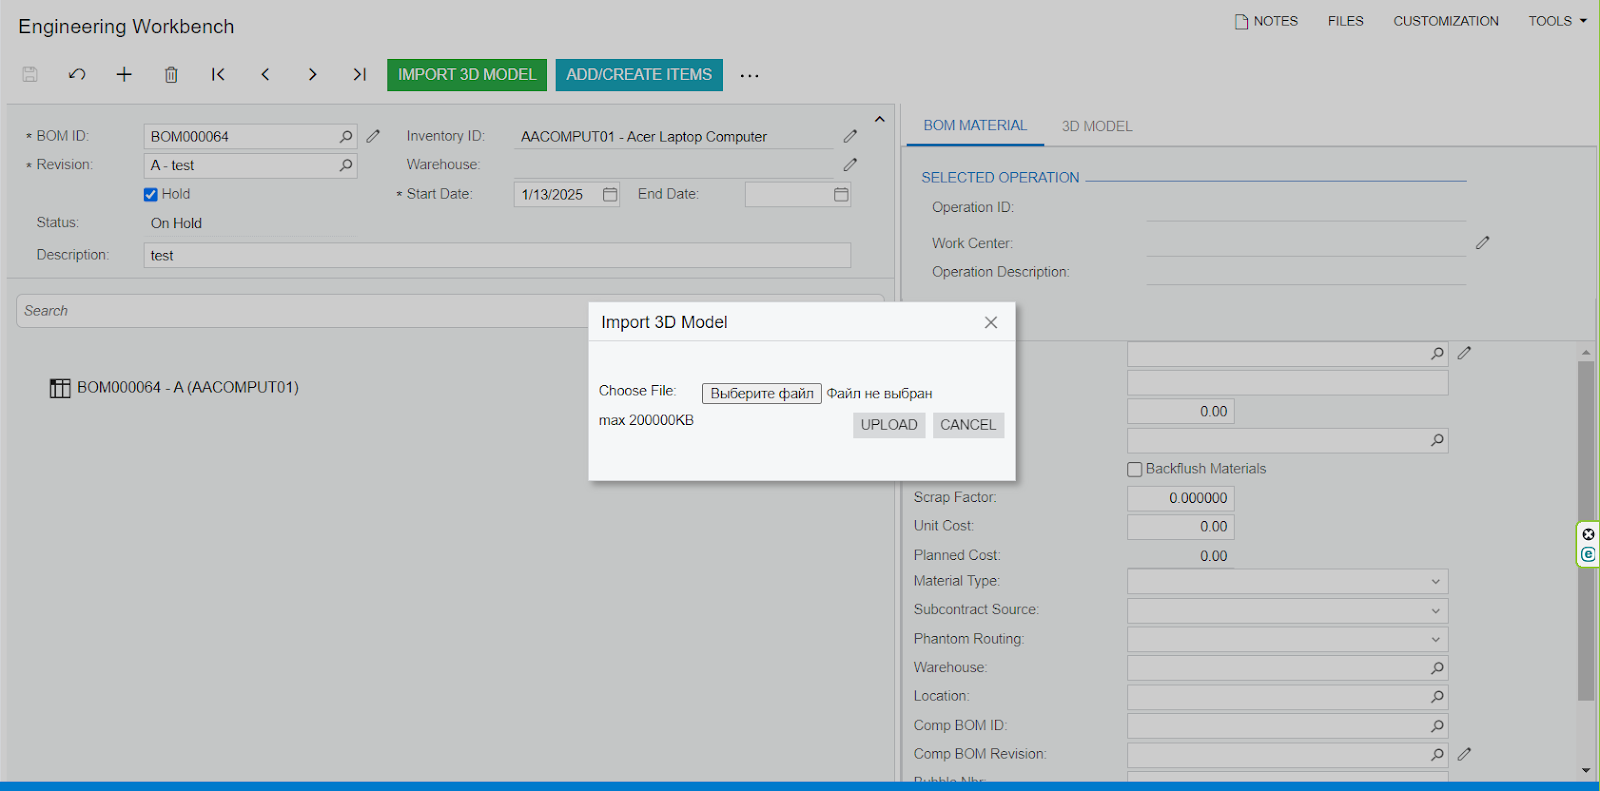
As we can see, it appears after we click a custom button “Import 3D Model”. It is a custom Upload Dialog Box, and the following standard methods will not work with it:
expenseClaims.FilesUploadDialog.Upload(@"C:\Users\Anna\Desktop\receipt.jpg");
expenseClaims.FilesUploadDialog.Close();
So, in this case, we need to create our own construction which will validate the file, locate the file input, prepare the file path, upload file and trigger the upload.
This is my file path that I will use in my test operation later:
string filename = @"C:\Users\Anna\Desktop\piston car.obj";
And here is the operation I’ve created that uploads the above mentioned file and clicks Upload button:
So, it checks if the file exists using File.Exists. If not, a custom exception is thrown to prevent further execution. Then, it uses Selenium's FindElement(By.Id) to identify the file upload input element on the webpage. After that, it prepares the file path, sends the file path to the input element via SendKeys, waits for any background processes, and logs a screenshot for reporting or debugging, and simulates a button click to complete the file upload process with DynamicControl<Button>("Upload").Click().
Need a Custom Upload Dialog Box for Acumatica?
As you can see, customizing the file upload process in Acumatica may require unique solutions when standard methods fall short. If you’re facing challenges with customizing your own Upload Dialog Box or need assistance with Acumatica development, don’t hesitate to reach out. Our team is ready to help with tailored solutions that meet your specific needs.
Request Your Customization Today and let us handle the technicalities, so you can focus on growing your business!