Package upgrading process
Hello. Today I will describe how to make an package upgrade in correct way
1. You need to download version that you need to upgrade to
2. You need to create an instance of upgraded version or update(full update) already existing instance
3. Next step is to add Acumatica dll to your project from the created instance. If you making an update of instance you can skip this step only if you are using dlls from site folder
4. Don’t forget to set to all dll in references tab property Copy Locals to False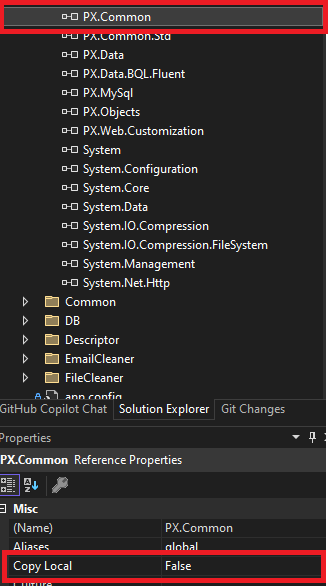
5. Now you can build you dll
6. Import package that contains upgraded dll to your instance(Do not publish it)
7. Add reference to Bin folder to your upgraded dll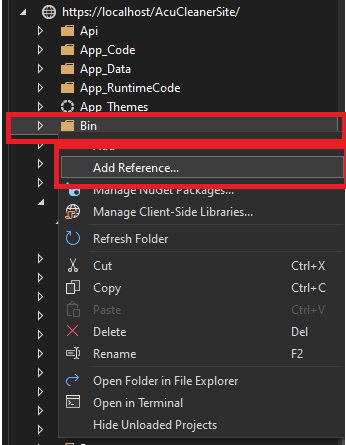
8. Open Projects tab, select your upgraded dll and press Ok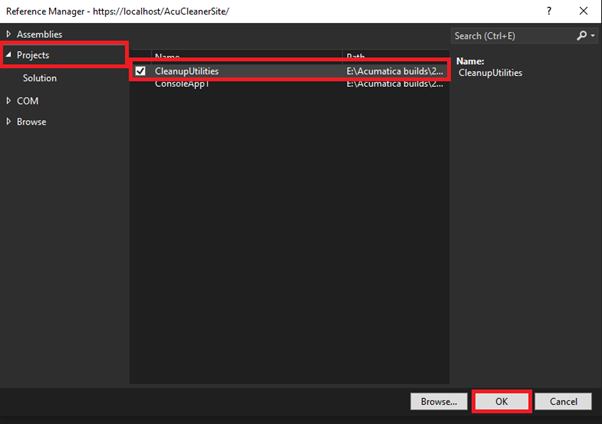
9. You can build an dll one more time after adding it to Bin folder
10. Refresh your instance tab
11. Open package, go to Files tab and press Detect Modified Files
And in pop up window press Update Customization project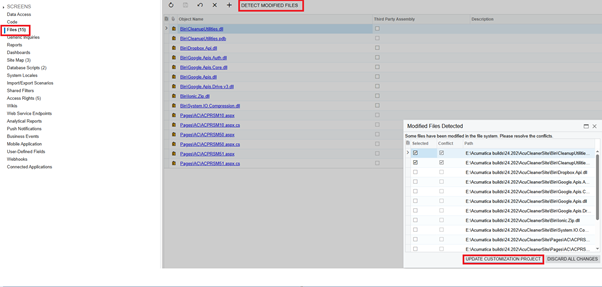
12. Now you can publish your customization. It will be updated to your version
Sometimes, Aсumatica changes the behavior of certain methods or completely renames them in new versions. In cases like this, when you click the Build button in Visual Studio for your dll and a overridden method isn't present or gives you an error on calling base Acumatica methods, you should check the entire call references to this method and to override the new method introduced in the new version (which replaced yours). Or if you are using Acumatica method in your own method you need to find with what method it was replaced