Simple Way to Get Data from Acumatica into Power BI via OData
Step 1: Prepare the Generic Inquiry
- Go to Generic Inquiry screen (SM208000).
- Create a new GI or open an existing one.
- In the Inquiry Title field, enter a unique name without spaces (e.g., we’ll use the existing SO-SalesOrder).
- On the Results Grid tab, add only the necessary fields.
- Check the box Expose via OData.
- Save the GI
Step 2: Generate the OData URL
Use the following format for the URL:
https://<your-domain>/odata/<tenant-name>/<inquiry-title>
In our example:
http://localhost/SalesDemo24R1/odata/Company/SO-SalesOrder
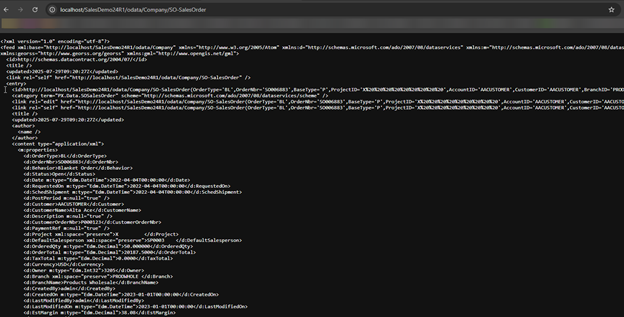
You can test this URL by pasting it into your browser.
If everything is configured correctly, you should see a result similar to this:
Step 3: Connect Power BI to Acumatica
1. Download and open Power BI Desktop.
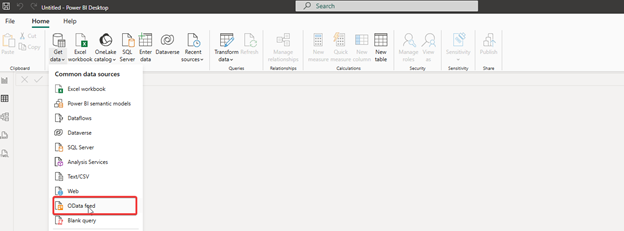
2. Go to: Home → Get Data → OData Feed.
3. Paste your generated OData UR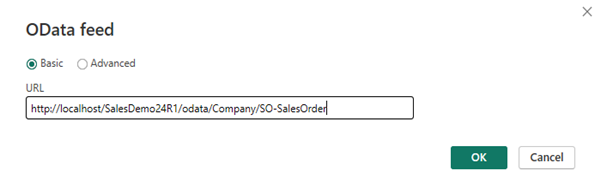
4. When prompted for authentication, select:
· Basic authentication
· Enter login and password of the Acumatica user who has access to the GI
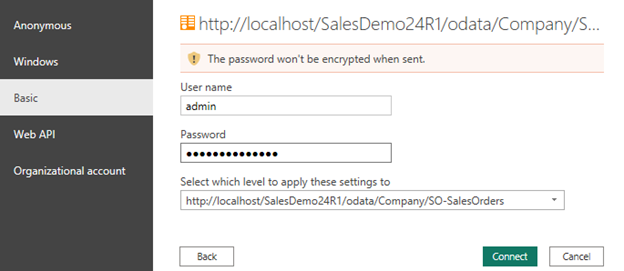
5. Click Connect and wait for the data to load.
Notes
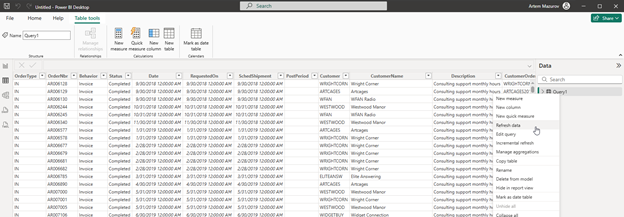
· You can rename the query in Power BI and set filters to only display the columns you need.
· At any time, you can click "Refresh Data" to keep your report up to date with the latest data from Acumatica.
Using OData to connect Acumatica with Power BI is one of the fastest and most flexible ways to start building real-time dashboards without writing any code.
Whether you're tracking sales, inventory, or any other business data — this integration empowers you to make smarter decisions backed by live ERP data.